

 English
 España
How to Froth Milk Without a Frother | 7 Easy Methods
 2026.08.03
 News
News
Few things beat the first sip of a latte topped with thick, velvety foam. But what happens when you want that café experience at home and you do not own a milk frother? The good news is that you do not need one. With tools you already have — a mason jar, a whisk, a blender, or a French press — you can make surprisingly good foam in minutes. This guide covers seven proven methods, explains which milk works best, why temperature matters, and how to fix common failures. By the end, you will know exactly how to froth milk without a frother.
Why Froth Milk Anyway? (The Science of Foam Made Simple)
Milk foam is simply air bubbles held together by proteins and fat. When milk is heated, its proteins — casein and whey — unwind and form thin films around the air bubbles created by shaking, whisking, or blending. Fat stabilizes those films and gives foam its creamy texture.
That is why milk choice changes the result. Whole milk delivers dense, stable foam because it has enough fat to reinforce the protein structure. Skim milk creates large, stiff bubbles that taste watery and vanish quickly. Understanding this mechanism — heat plus protein plus fat — is the first step toward café-quality foam with whatever equipment you already have. The protein type matters as well: casein provides elasticity, while whey proteins make the foam films firmer and more durable.
The Golden Rule of Frothing: Get the Temperature Right
Temperature is the single most important variable. The ideal range is 60–68°C (140–155°F). Within this range, proteins unfold enough to form durable foam while the milk keeps its natural sweetness.
Below 60°C (140°F), proteins have not loosened enough to stabilize bubbles, so the foam is sparse and collapses fast. Above 70°C (158°F), proteins coagulate: the milk scorches, tastes cooked, and produces brittle foam. Heat milk in the microwave for 45 seconds to 1 minute for a single serving, or on the stovetop over medium-low heat. If the side of the cup feels warm but not burning to the touch, you are in the right zone. Keep the milk below a simmer at all times — once it boils, the foam structure is already compromised.
What's the Best Milk for Frothing?
Different milks froth differently because of their protein and fat content. Here is how they compare:
- Whole milk (3.25% fat): The most reliable choice for thick, velvety, stable foam. It holds its shape long enough for latte art.
- 2% reduced-fat milk: Produces lighter foam that is still stable enough for everyday lattes and cappuccinos.
- Skim milk: Whips up quickly into big airy bubbles, but the texture is thin and the foam deflates fast.
- Barista oat milk: The best non-dairy option. Added protein and stabilizers create smooth, creamy microfoam close to whole milk.
- Soy milk: Froths well and holds up, but overheating can create an unpleasant beany flavor.
- Almond milk: Gives light, coarse foam with large bubbles; best consumed immediately.
- Coconut milk: Low protein makes it the hardest to froth. A splash of whole milk or barista oat milk helps.
For the most consistent results, start with whole milk. Once you understand how it behaves, you can experiment with plant-based alternatives and adjust your technique accordingly.
7 Foolproof Ways to Froth Milk Without a Frother
All seven methods assume you have heated the milk to 60–68°C (140–155°F) first.
1. The Mason Jar Shake
- Heat 200–250 ml of milk to 60–68°C (140–155°F) in the microwave or on the stovetop.
- Pour the warm milk into a microwave-safe jar with a tight lid, filling it no more than halfway.
- Close the lid, wrap the jar in a towel, and shake hard for 30–60 seconds until the milk roughly doubles in volume.
- Take off the lid and microwave the open jar for another 30 seconds to set the foam.
Foam quality: thick and generous, though the bubbles are fairly coarse. It is not fine enough for latte art, but it is excellent for topping coffee or hot chocolate.
Watch out: the jar gets very hot. Always grip it with a towel. If your jar has a plastic lid, confirm it is microwave-safe, or remove the lid before the final heating step.
2. Use a Hand Whisk (Yes, Really)
- Warm the milk to 60–68°C (140–155°F).
- Tilt the cup so the milk deepens to one side.
- Hold the whisk just below the surface and move it back and forth rapidly, not in circles, to pull air in.
- Whisk for 1–2 minutes until a layer of fine foam forms.
Foam quality: softer and more uniform than the jar method. It takes some arm effort, but it works well for a single latte.
Tip: keep the whisk near the surface. If you plunge it too deep, almost no air gets mixed in.
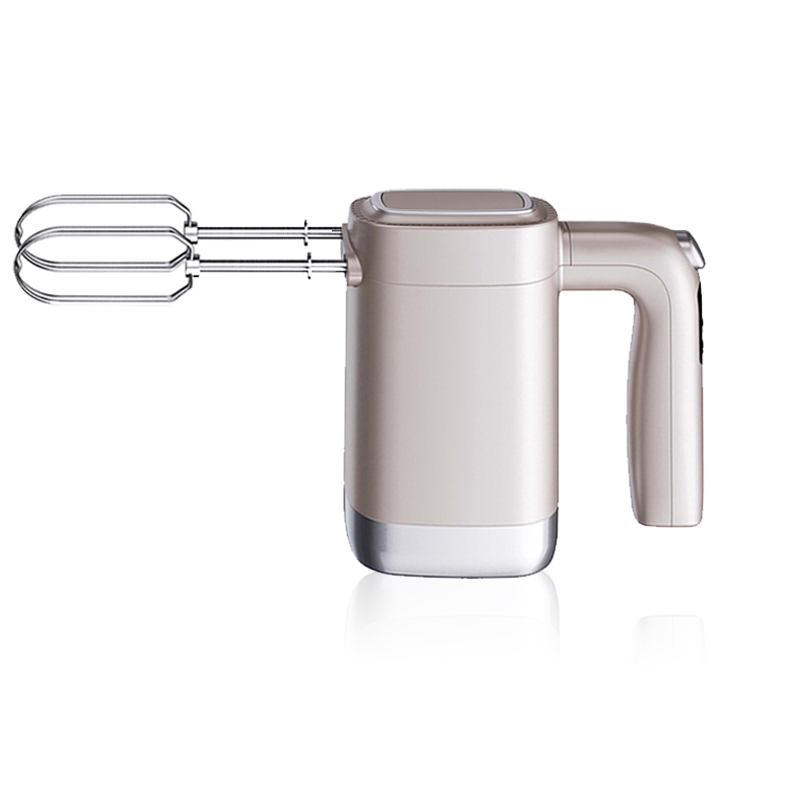
3. The Electric Mixer / Hand Mixer Method
- Heat the milk to 60–68°C (140–155°F).
- Place the beaters in a deep jug and submerge them fully.
- Start on low speed, increase gradually, and move the beaters up and down gently.
- Beat for 30–60 seconds until the foam is silky and dense.
Foam quality: visibly finer than hand whisking — close to steam-wand texture. This is the best option when you are making two or more drinks at once.
Use a deep container, or the milk will splatter everywhere.
4. French Press (Plunge and Pump)
- Heat the milk without boiling it.
- Pour it into a clean French press, filling it no more than halfway.
- Pump the plunger up and down rapidly for 30–60 seconds. Each stroke pushes air through the fine mesh into the milk.
- Stop when the volume has grown by about a third and the foam looks creamy.
Foam quality: the closest thing to microfoam you will get without a steam wand. The fine mesh creates small, uniform bubbles that hold up well.
Best for: cappuccinos. Always use preheated milk, not cold milk — cold milk takes longer to foam and produces a noticeably less stable result. The press needs a thorough rinse afterward, but the texture is worth it.
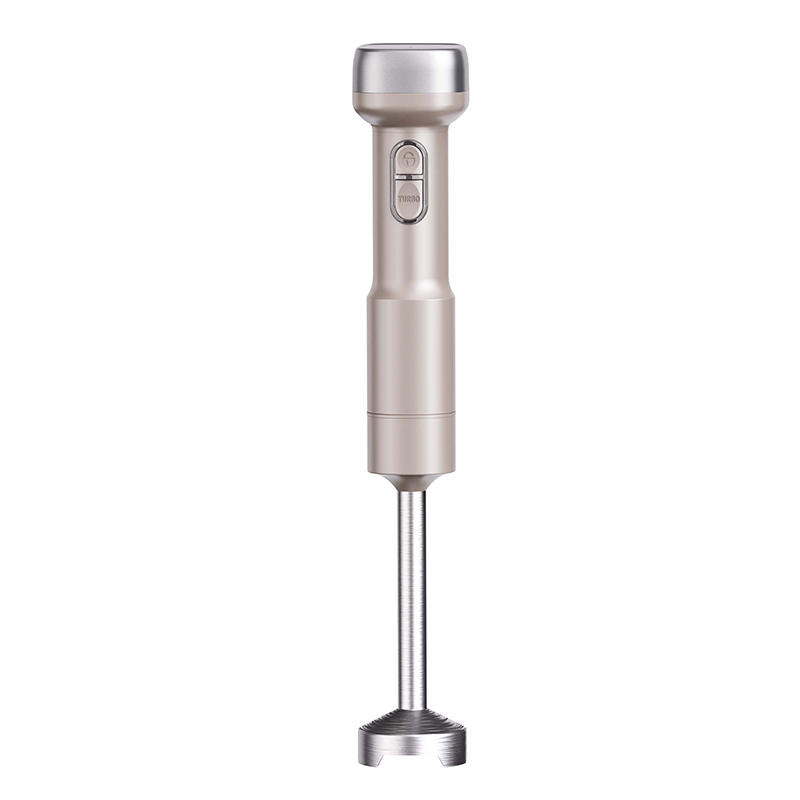
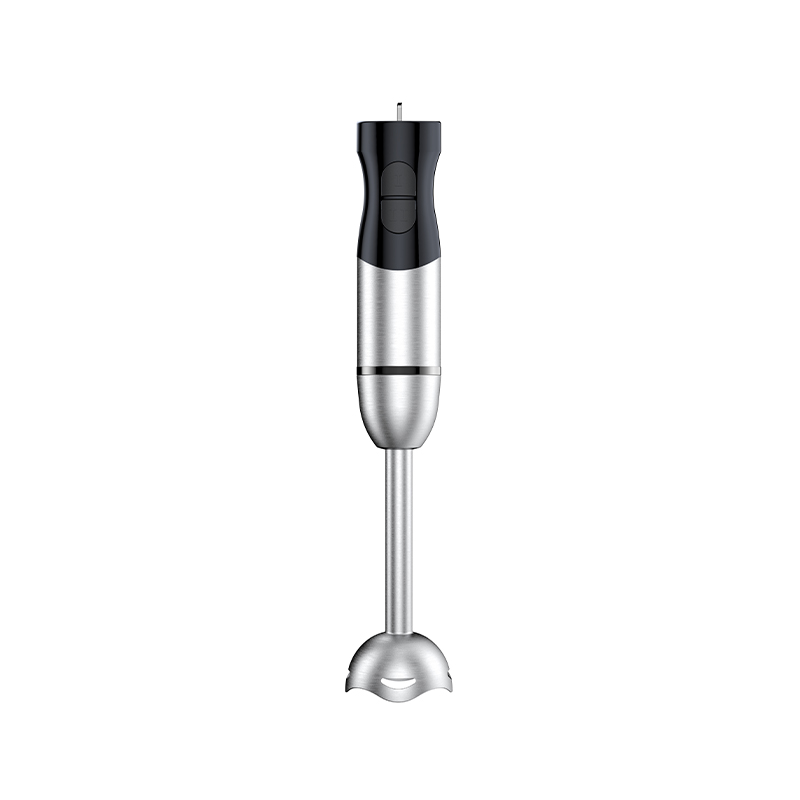
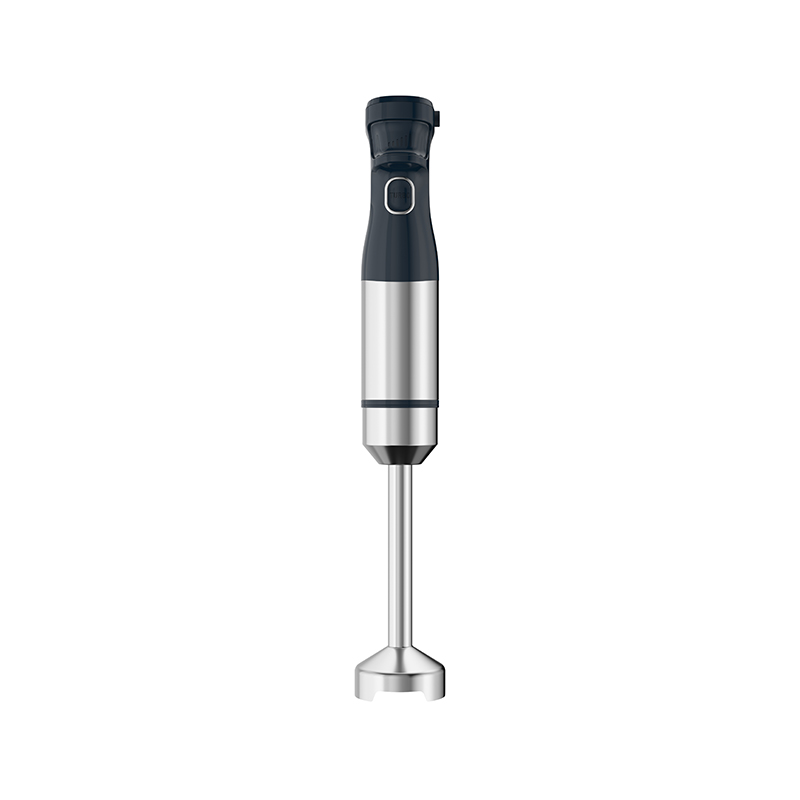
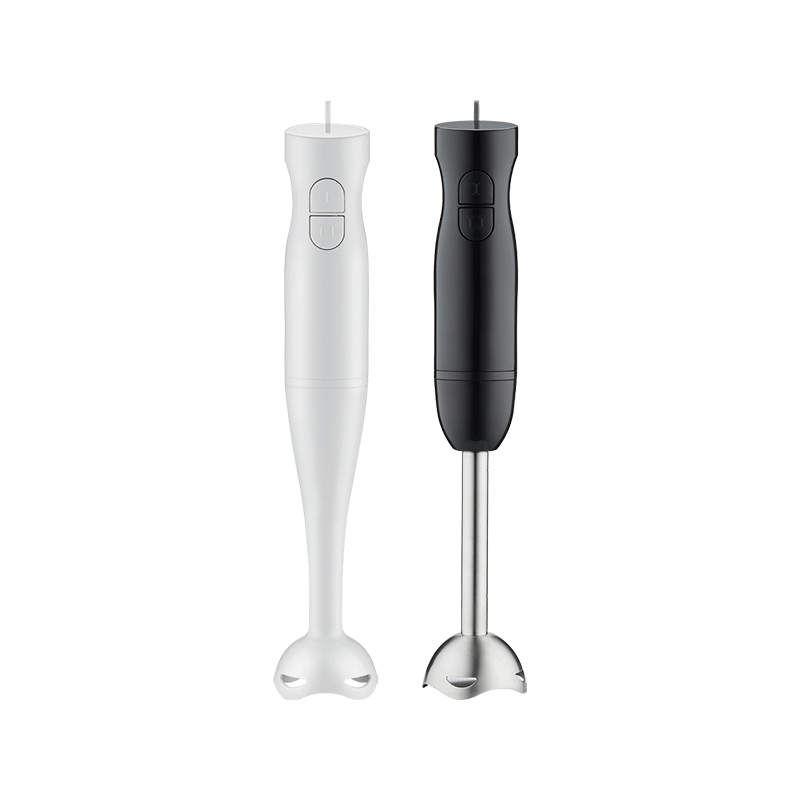
5. Immersion (Hand) Blender
- Heat the milk in a tall, narrow container.
- Fully submerge the blender head below the surface before switching it on.
- Run the blender, moving it slowly up and down, for 30–60 seconds.
- Stop when the foam is smooth and glossy.
Foam quality: fast, consistent, and relatively fine. The high-speed blade blends air evenly through the milk.
Best for: lattes, mochas, and drinks that need extra body.
Keep the head underwater the whole time. Start it above the surface and hot milk splashes everywhere.
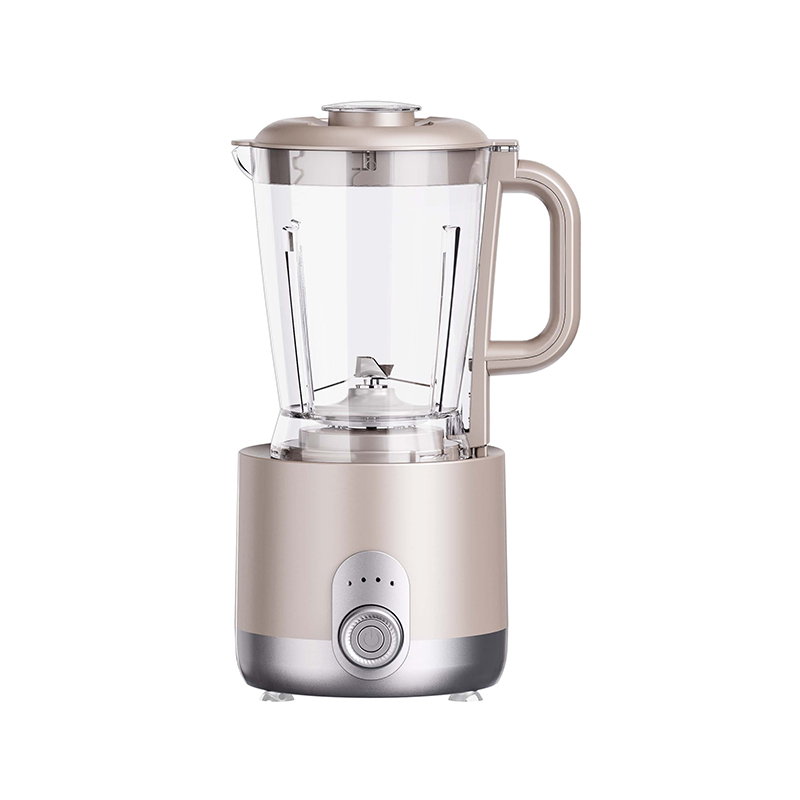
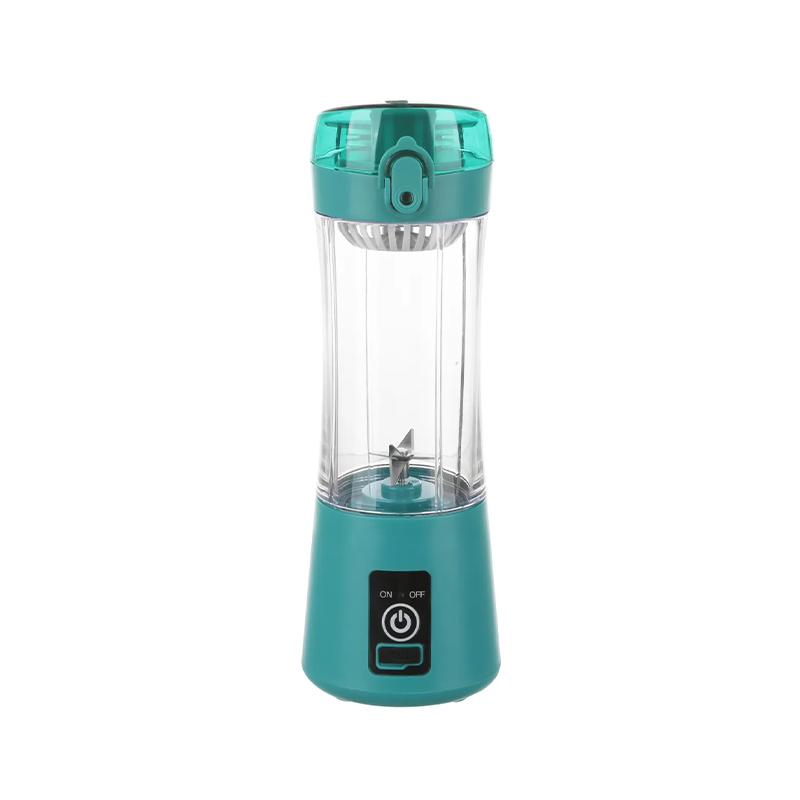
6. Regular Countertop Blender
- Pour the heated milk into the blender jar.
- Cover with the lid and place a towel on top for safety.
- Blend at medium speed for 30–60 seconds.
- Let it settle briefly. Use a spoon to hold back the foam, pour the coffee, then spoon the foam on top.
Foam quality: maximum volume, but the texture is thick and dense, more like a creamy topping than airy microfoam.
Best for: iced coffee with a frothy cap, or dessert-style hot chocolate.
Never fill the jar past halfway — hot milk expands. If you are wondering whether your current machine is up to the job, our guide to choosing the right blender for your kitchen may help.
7. The Lazy Hack: Microwave + Spoon (Bonus)
- Heat the milk until it is warm, not hot.
- Stir it rapidly across the surface with a large spoon for about a minute.
- A thin foam layer will form — pour immediately.
Honest assessment: this is the weakest method. The foam is shallow and disappears within minutes. Use it only in travel or office emergencies when no other tool is available. It is still better than plain hot milk in your coffee, but not by much.
Method Comparison at a Glance
The table below summarizes the key differences so you can choose based on your time, effort, and drink of choice.
| Method | Time | Foam Texture | Best For |
|---|---|---|---|
| Mason jar shake | about 2 min | Thick, coarse bubbles | Coffee and hot chocolate topping |
| Hand whisk | 2–3 min | Soft, fine bubbles | Single latte |
| Electric mixer | 1–2 min | Silky and dense | Multiple drinks |
| French press | 1–2 min | Microfoam | Cappuccino |
| Immersion blender | about 1 min | Smooth and glossy | Lattes and mochas |
| Countertop blender | about 1 min | Voluminous, heavy | Iced coffee and dessert drinks |
| Spoon stir | about 3 min | Thin, short-lived | Travel emergencies |
Troubleshooting: Why Isn't My Milk Frothing?
The foam collapses almost immediately. The milk was too hot or too cold. Reheat it to 60–68°C (140–155°F) and use milk with at least 2% fat.
No foam forms at all. You likely mixed too briefly or filled the container too full. Leave at least half the container empty and mix for 30 seconds longer.
The bubbles are too big and coarse. You are pulling air in too aggressively. Slow down the whisking or reduce the blender speed to get finer bubbles.
The milk tastes burnt. The proteins coagulated above 70°C (158°F). Next time, stop heating while the cup is still just warm to the touch.
Oat milk or almond milk will not froth. Regular versions lack protein. Use a barista blend or add a splash of whole dairy milk.
When It's Time to Consider a Real Milk Frother
The methods above genuinely work. A French press delivers respectable microfoam, and an electric mixer gets close to café quality. But all of them share limits: results vary with technique, your arm does the work, and cleanup takes time. If you make coffee every day and want one consistent pour, a dedicated frother removes the guesswork.
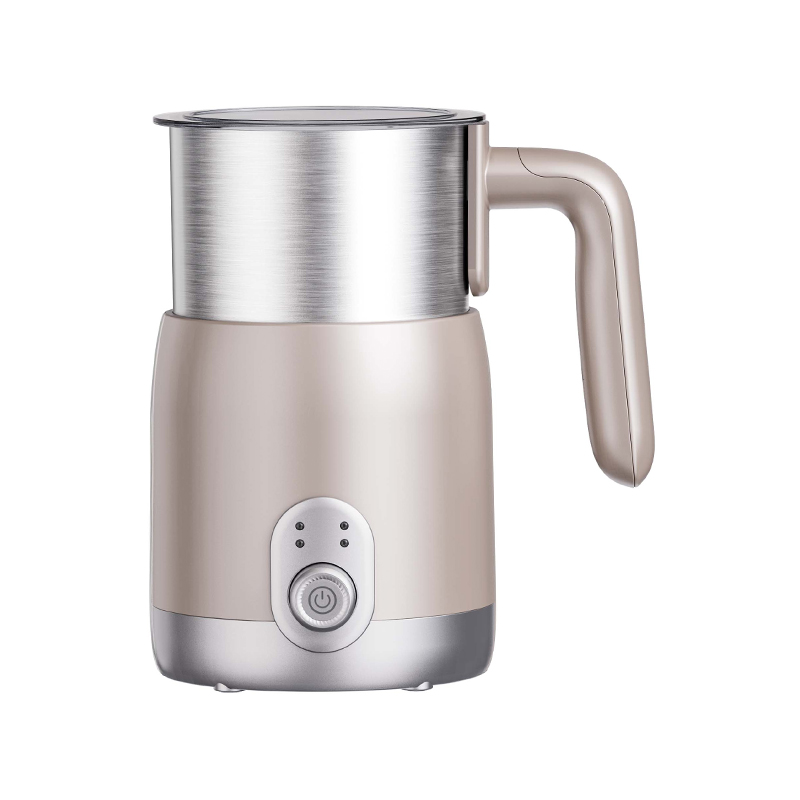
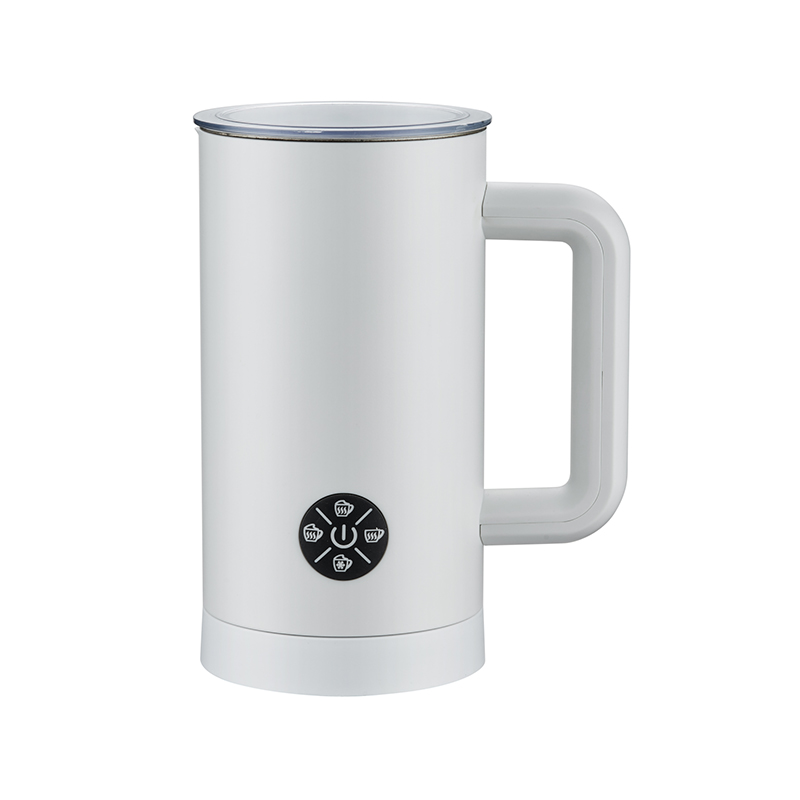
A purpose-built frother heats and aerates the milk in a single step. If you often prepare coffee at the dinner table, in the office, or outdoors, a cordless milk frother for on-the-go convenience is worth a look. You can also browse our full range of milk frothers to find a model that suits your routine. The real advantage is repeatability: the same silky texture every morning, without adjusting your technique. And if you are happy with your jar and your whisk, keep using them — consistency matters more than gear.
Great foam comes down to three things: milk at 60–68°C (140–155°F), the right milk for your taste, and a method you will actually use. Start with the French press if you want café-style microfoam, or the mason jar if you want minimal effort. Tonight, make yourself a proper cappuccino and taste the difference.
 SEE more
 SEE more
 SEE more
 SEE more
 SEE more
 SEE more
 SEE more
 SEE more
 SEE more
 SEE more
 SEE more
 SEE more
 Leave a message
Copyright © Ningbo Longde Life Electric Appliance Co., Ltd.  Wholesale Portable Kitchen Appliance For Outdoor Use Manufacturers