

 English
 España
How to Use a Milk Frother: Step-by-Step Guide for Silky Foam in Every Cup
 2026.09.25
 News
News
A handheld milk frother turns warm milk into dense, spoonable foam in about twenty seconds, yet most first attempts end in big bubbles, a splattered counter, or milk that never thickens at all. The device is rarely the problem. Foam quality comes down to four things you control: the milk you choose, how far you fill the cup, whether the whisk is submerged before you press the button, and how long you let it run. Get those right and even an entry-level frother produces the glossy, café-style foam you see in product videos.
How a Milk Frother Works, and Why Technique Matters
A frother does one job: it spins a small wire whisk at high speed and folds air into milk. Milk proteins, mainly casein and whey, wrap around each air bubble and stop the bubble walls from collapsing, while milk fat makes the foam taste creamy instead of dry. Heat helps because warm milk has more elastic proteins and carries more aroma, which is why frothed milk tastes noticeably sweeter than cold milk poured straight into coffee.
Temperature has a hard limit, though. Milk froths best between roughly 140 and 155°F (60 to 68°C). Past that range the proteins tighten, the foam thins, and the natural sweetness cooks off; boiled milk scalds and develops a flat taste that no amount of frothing repairs. Every technique below is built around staying inside that window.
Choose the Right Milk Before You Start
Milk choice decides your results before the frother is ever switched on. If you want predictable outcomes while you practice, start with whole milk and branch out from there.
- Whole milk (around 3.25% fat): the easiest to work with; the fat produces a creamy, stable foam that holds for several minutes.
- Skim or low-fat milk: produces a larger volume of stiff, airy foam, but the bubbles are bigger and the foam dissipates faster.
- Oat milk: regular versions often give weak, watery foam; barista editions, formulated with extra fat and protein, froth nearly as well as dairy.
- Almond and soy milk: soy behaves reasonably well; almond milk is low in protein and tends to make fragile bubbles unless you buy a barista formulation.
Cold milk froths as well, which is all an iced latte or a cold-foam topping needs; the foam sits slightly looser but still works. Sweeteners can be added before or after frothing, though honey and sugar dissolve more easily in warm milk.
Step-by-Step: Using a Handheld Milk Frother
Step 1: Warm the milk without cooking it
Heat the milk to 140-155°F (60 to 68°C). On the stove, use medium heat and pull the pot as soon as steam rises and small bubbles form at the edge, never at a rolling boil. In a microwave, 30 to 45 seconds is usually enough for a single serving, depending on wattage. Without a thermometer, aim for milk that is steaming hot but clearly not boiling.
Step 2: Fill a tall cup no more than one-third full
Choose a tall, narrow cup rather than a wide bowl and pour in no more than one-third of its volume. Frothed milk can double or triple in volume, and an overfilled cup is the most common cause of overflow and splatter. The tall shape also gives the whirlpool in the next step room to form.
Step 3: Submerge the whisk, then froth in two stages
Put the whisk into the milk and check that it is fully covered before pressing the power button, because switching on above the surface sprays milk across the counter. Hold the whisk just under the surface for the first two to five seconds and listen for a light hissing as air is drawn in. Then push the whisk deeper, tilt the cup slightly, and rest it against the side so the milk spins in a whirlpool. Keep it there for 15 to 30 seconds, until the volume visibly doubles and the surface turns from bubbly to glossy. Small, tight bubbles mean the foam is ready.
Step 4: Tap, swirl, and pour
Switch the frother off while the whisk is still submerged, then lift it out. Give the cup a firm tap or two on the counter to pop any large bubbles, and swirl the milk so the foam and liquid merge into one smooth texture. Pour into your coffee with the cup tilted about 20 degrees so the milk flows first and the foam follows, or spoon the foam on top for a cappuccino-style finish.
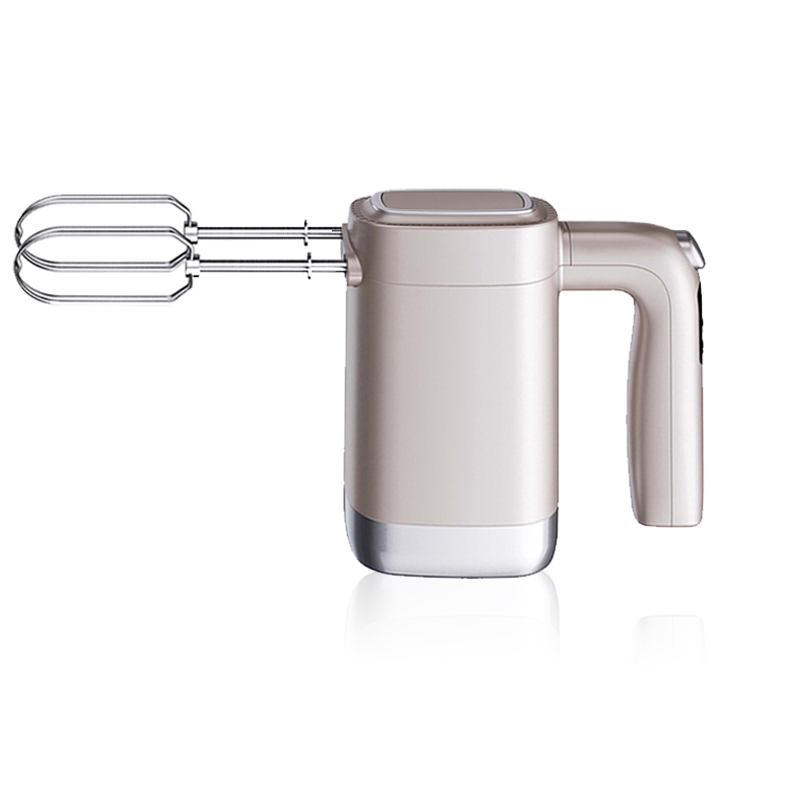
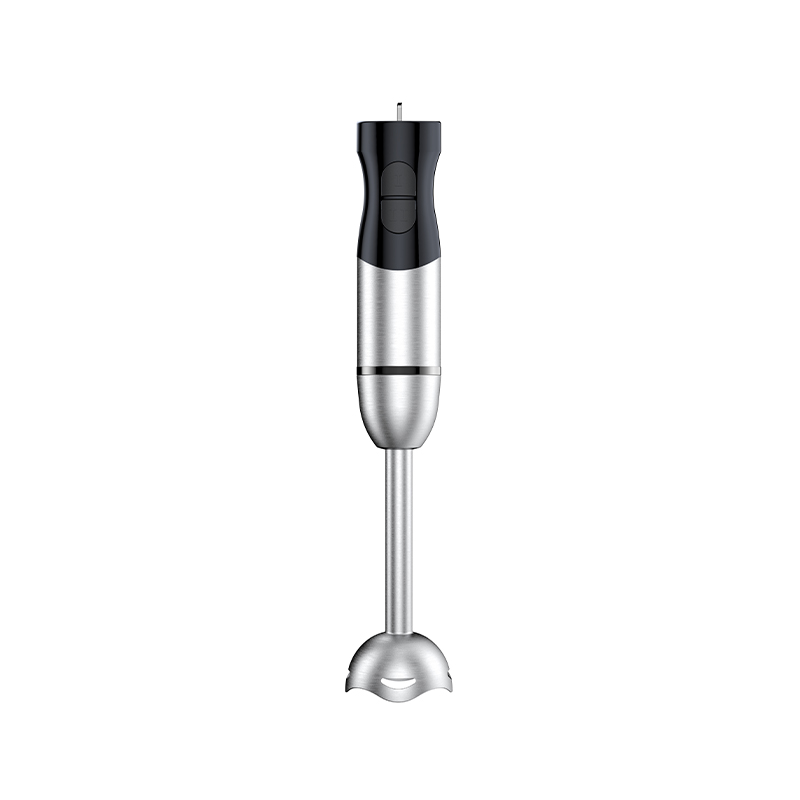
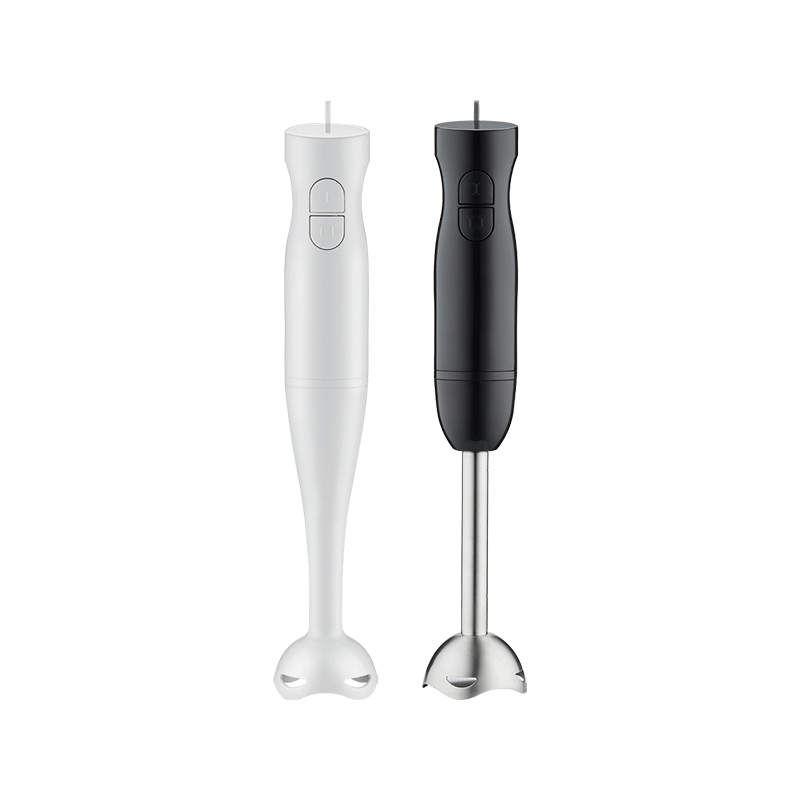
That is the entire technique. It works with any standard handheld whisk, and a straightforward corded unit like the following covers everything a daily coffee routine requires.
How the Technique Changes by Frother Type
Handheld whisks get the most attention, but the method shifts with the tool. The table below compares the four common types, and the notes afterward cover the differences that matter in practice.
| Frother type | How it is used | Key points | Best for |
|---|---|---|---|
| Handheld whisk | Warm milk in a tall cup, submerge the whisk, froth for 15 to 30 seconds | Fill the cup one-third full; keep the whisk under the surface | Daily lattes, matcha, small batches |
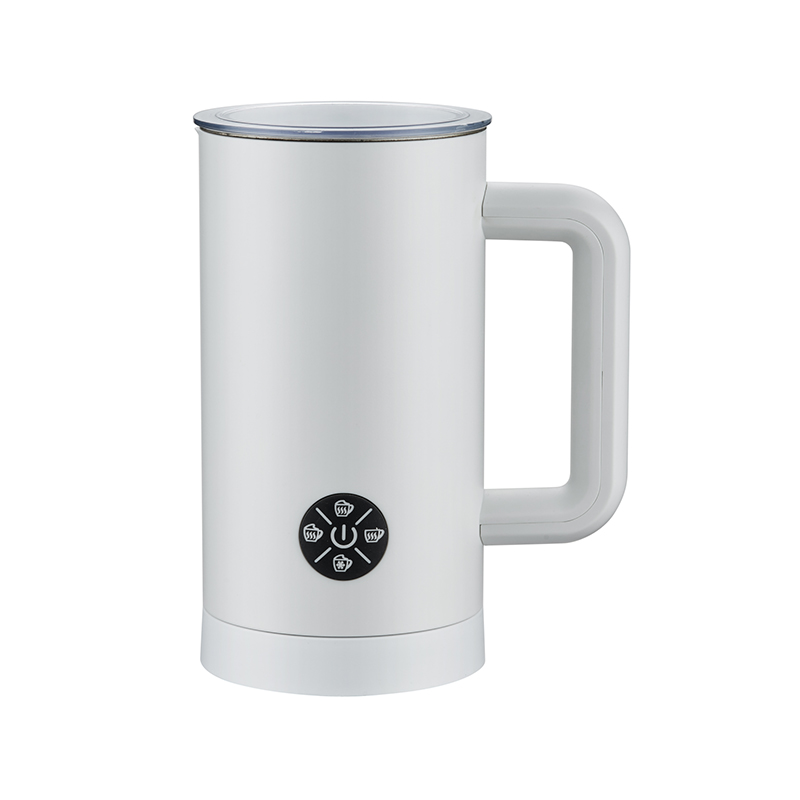
| Electric jug | Pour milk to the fill line and press one button; the jug heats and spins automatically | Never exceed the maximum line; rinse the non-stick coating gently | Hands-off mornings, more than one cup |
| Manual pump | Heat milk separately, fill the chamber halfway, pump the plunger 10 to 15 times | Needs preheated milk; the mesh screen needs a thorough clean | Travel and kitchens without a nearby outlet |
| Steam wand | Inject steam and air together just under the milk surface | Steepest learning curve; texture and temperature are controlled by hand | Espresso drinks with true microfoam |
An electric jug frother is the most hands-off option and removes the timing judgment from your hands entirely. A manual pump frother asks for more effort but works anywhere, including places without power. A steam wand produces the finest microfoam of the four, which is why espresso bars rely on it; for everyone else, the handheld whisk remains the fastest route from fridge to foam.
Corded or Cordless: Matching the Frother to Your Routine
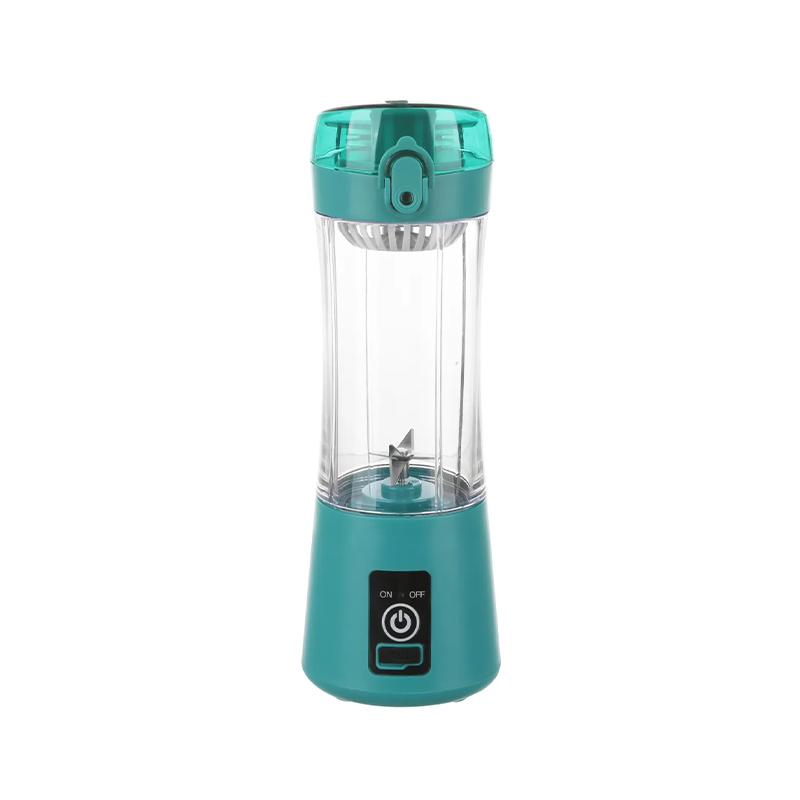
Among handheld frothers, the main buying decision is where the power comes from, and your routine should drive the answer. A corded model is always ready: plug it in, press the button, froth. It suits a device that lives in a drawer beside the coffee machine and gets used daily. A rechargeable cordless model trades that constant readiness for freedom of movement, so you can froth at the table, in an office kitchen, or on a trip, provided the battery has charge.
The corded-versus-battery tradeoff repeats across small kitchen appliances, and the logic is consistent: a tool used daily in one spot rarely minds a cord, while occasional or mobile use strongly favors rechargeable. If you are weighing that choice more broadly, it helps to see how a cordless table blender compares to a traditional corded model, because the practical considerations are nearly identical.
When comparing specific handheld models, prioritize the details that affect daily use: a stainless steel whisk shaft, a one-press switch, and for cordless units a handle sealed against splashes with a clear charging method. Motor speed matters less than most people expect, because nearly any modern frother spins fast enough to texture milk in under half a minute. Comfort, sealing, and easy cleanup are what decide whether the tool stays in the morning routine.
Common Mistakes and Quick Fixes
Most failed frothing attempts trace back to a short list of errors. Check yours against these:
- Overfilling the cup. Foam expands to two or three times the starting volume, so one-third full is the safe maximum.
- Switching the frother on before the whisk is submerged. It takes half a second and sprays milk a surprising distance.
- Using boiled or near-boiled milk. Above roughly 155°F the foam thins and the sweetness disappears, and neither can be recovered.
- Expecting fragile milk alternatives to perform like dairy. Regular almond milk and thin oat drinks need barista-style formulations to foam properly.
- Skipping the tap and swirl. That ten-second step is what separates dense, glossy foam from a loose cap of large bubbles.
- Letting milk dry on the whisk. Dried protein bonds to the wires and takes far longer to remove than an immediate rinse would have.
If your foam is consistently thin, the two most likely culprits are milk choice and temperature. Fix those before blaming the device.
Cleaning and Maintenance
Clean the whisk immediately after use; this is the one rule with real consequences. Hold the whisk head under hot running water, or spin it for a few seconds in a cup of warm soapy water, then spin it briefly in clean water to rinse and stand it upright to dry. Milk proteins set into a hard film within minutes, and once dried they are stubborn to remove.
For rechargeable models, keep water away from the switch and charging port, since most handheld frothers have a sealed handle but are not designed to be fully submerged. Charge the unit as the instructions describe rather than leaving it on the cable indefinitely, and the battery will hold up over years of daily use.
From First Froth to Café-Style Drinks
Expect the first two or three attempts to be imperfect, and treat the fourth morning as the real test. Once the fill level, timing, and temperature feel automatic, move past plain lattes: a classic latte works on a rough 1:1:1 ratio of espresso, milk, and foam, a cappuccino wants a thicker foam cap over less liquid milk, and the same frothed milk noticeably upgrades instant hot chocolate and matcha lattes.
The technique in this guide works with any frother you own, and the habit it builds — warm properly, fill low, submerge first, clean immediately — is what turns milk frothing into a thirty-second routine you keep. If you are building out a wider set of kitchen tools, the same focus on durable, practical design carries across the full range of small kitchen appliances.
 SEE more
 SEE more
 SEE more
 SEE more
 SEE more
 SEE more
 SEE more
 SEE more
 SEE more
 SEE more
 SEE more
 SEE more
 Leave a message
Copyright © Ningbo Longde Life Electric Appliance Co., Ltd.  Wholesale Portable Kitchen Appliance For Outdoor Use Manufacturers