

 English
 España
How to Froth Milk for Coffee: Methods, Temperatures, and Foam Tips That Work
 2026.09.18
 News
News
Good milk foam is decided before the frother ever switches on. It comes down to three things: milk temperature, how much air you introduce, and how long you keep the milk spinning. Heat milk to about 140°F (60°C), aerate briefly at the start, then let a steady whirlpool do the texturing, and you will get glossy, pourable foam even without an espresso machine. If all you own is a whisk, a French press, or a handheld electric frother, you are still within a few minutes of a proper cappuccino.
What Frothing Actually Does to Milk
Frothing is a race between air and protein. When you push steam or a whisk through milk, air gets trapped as bubbles. Milk proteins, mainly casein and whey, rush to the surface of each bubble and form a film that keeps it from collapsing. Heat helps because it denatures the proteins, making them better at holding that structure. Fat then rides along to add body, sweetness, and a creamy mouthfeel.
This is why two very different textures exist. Microfoam is dense, wet, and glossy, with bubbles too small to see individually; it is the standard for lattes and latte art. Dry foam is thicker, stiffer, and spoonable, which suits a traditional cappuccino. Same milk, different amount of air and different texturing time.
The Temperature Rule That Decides Everything
Aim for 140°F (60°C) and stop no later than 150°F (65°C). Below that range, the foam tastes thin and the milk feels lukewarm in the cup. Above it, the proteins keep breaking down, the foam loses elasticity, and past roughly 170°F the milk scalds: the natural sweetness disappears and a flat, cooked flavor takes over. Foam that overheats also collapses in the cup within a minute.
Without a thermometer, use the pitcher test: 140°F feels very hot but you can still hold the steel pitcher for a second or two. Always start with cold milk straight from the refrigerator, because it gives you a longer window to aerate before the temperature climbs past the target.
Frothing Methods Compared
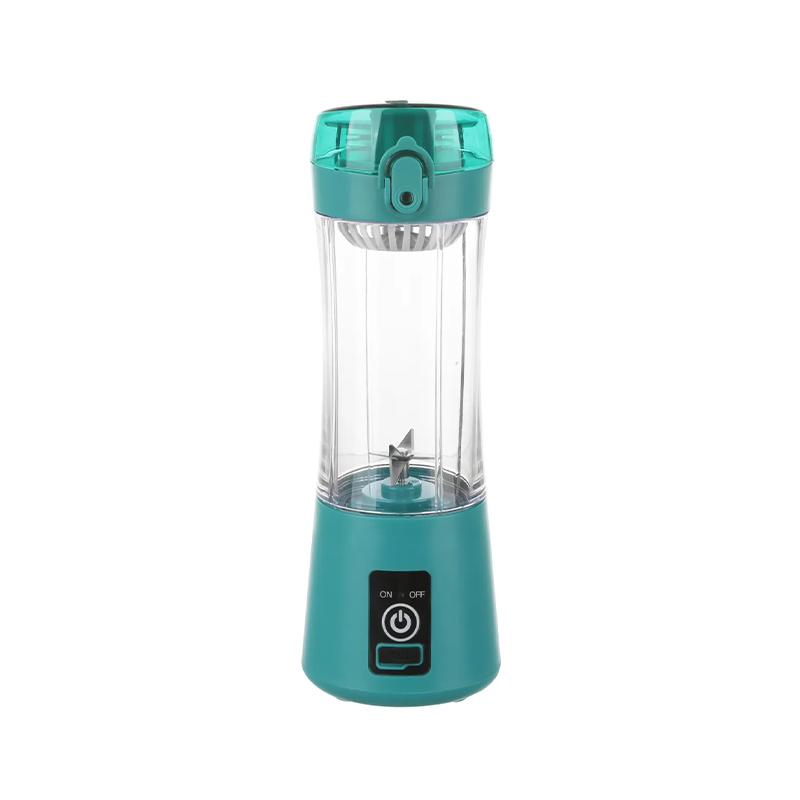
Every method below produces real foam; the differences are texture, speed, and how much attention the process demands. A blender deserves a note here as well: it floods milk with air quickly, which creates big-bubbled foam better suited to iced drinks than latte art. If you already use a cordless table blender, it can handle small frothing jobs without tying up a wall socket.
| Method | Foam Texture | Time | Skill Needed | Best For |
|---|---|---|---|---|
| Steam wand | Silky microfoam to dry foam | 30-40 seconds | High, needs practice | Lattes, cappuccinos, latte art |
| Electric frother (heated) | Consistent, fine foam | 1-2 minutes, hands-off | Low | Daily coffee, multiple cups |
| Handheld whisk frother | Light, airy foam | 15-20 seconds after heating | Low to medium | Quick single servings |
| French press | Medium, even bubbles | 10-15 pumps | Low | Silky foam without extra gadgets |
| Jar shake plus microwave | Big, stiff bubbles | About 1 minute | None | Cappuccino-style foam, no tools |
| Whisk by hand | Airy, less uniform | 15-20 seconds | Medium effort | Occasional use |
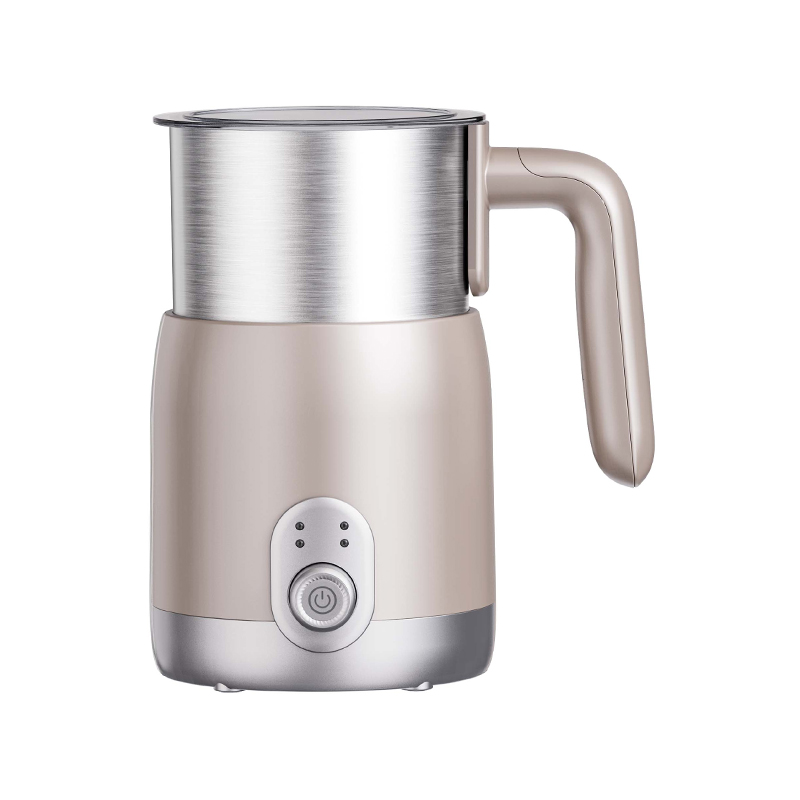
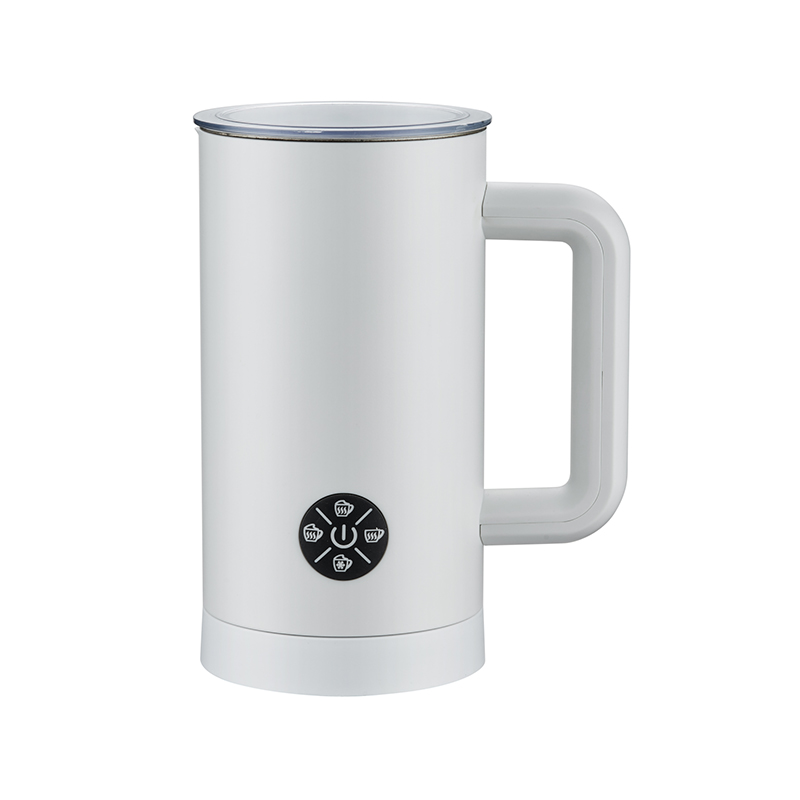
For hands-off consistency, a dedicated heated frother manages both warming and whipping on its own.
How to Froth Milk with a Steam Wand
The steam wand remains the benchmark, and the technique comes down to two phases: aeration first, texturing second.
- Purge the wand with a quick steam blast and wipe the tip. Dried milk residue ruins both foam and flavor.
- Fill a cold stainless pitcher one-third full with cold milk. Foam volume roughly doubles, so leave headroom.
- Submerge the tip just below the surface and open the valve. You want a gentle, rhythmic hiss as air gets pulled in.
- Aerate for only 3-5 seconds, until the milk has expanded noticeably. For latte milk, aerate even less.
- Deepen the tip slightly so the surface breaks into a whirlpool. That vortex folds big bubbles back down and shreds them into microfoam. A screech means the tip is too deep; violent splattering means it is too shallow.
- Stop at 140-150°F, close the valve, remove the pitcher, then wipe and purge the wand immediately.
- Rap the pitcher firmly on the counter once or twice to pop surface bubbles, then swirl until the milk looks like wet paint.
Pour within 30 seconds. Microfoam left sitting separates, and the drink loses the glossy texture you worked for.
Electric Frothers and Manual Methods, Step by Step
Automatic electric frother
Pour cold milk to the fill line, never above it, or foam spills onto the heating plate. Press once and let it run; heated models stop at the correct temperature themselves. The trade-off compared with a steam wand is less control over texture, but the consistency is hard to beat for a morning routine, and rechargeable cordless models move to the table, the desk, or the office without hunting for an outlet.
Handheld whisk frother
Heat the milk first to around 140°F, then submerge the whisk head just under the surface and run it for 15-20 seconds, tilting the cup slightly so the milk spins in a circle. Foam forms fast, so watch the volume rather than the clock.
French press
Pour warm milk into the press no more than halfway, then pump the plunger with short, quick strokes 10-15 times until the milk roughly doubles. Let it rest for 30 seconds so the foam stabilizes before pouring.
Jar shake
Fill a lidded jar no more than halfway, shake hard for 30-60 seconds until the milk turns frothy, then microwave it uncovered for about 30 seconds. The heat sets the foam. Use a towel or mitt, because the jar gets hot quickly.
Which Milk Froths Best
Whole milk is the most forgiving choice. Its roughly 3.5% fat and balanced protein content produce creamy, stable microfoam with a naturally sweet finish. Lower-fat milk foams more easily and holds stiffer, drier bubbles, which suits cappuccino-style foam but turns brittle and lacks the silky body most people want in a latte.
Plant milks need care. Regular oat and almond drinks often separate or foam weakly because they lack enough protein; barista versions add stabilizers and protein specifically for frothing and perform close to dairy. Whichever you use, fresher milk foams better, because protein slowly degrades over time, and ultra-high-temperature processed milk is noticeably harder to stretch into fine foam.
Five Mistakes That Flatten Your Foam
- Overheating past 150°F. This is the most common failure: the foam looks fine at first, then collapses in the cup.
- Aerating too long. Milk should roughly double in volume, not triple; oversized bubbles will not re-integrate.
- Overfilling the pitcher or jar. Milk needs room to expand to about twice its starting volume.
- Skipping the swirl. Tapping pops big bubbles, but swirling is what turns rough foam into a glossy, pourable texture.
- Waiting too long to pour. Milk foam starts breaking down within a minute, so texturize and pour in one motion.
Matching Foam to the Drink
A cappuccino wants roughly equal parts espresso, steamed milk, and thick foam, so aerate longer and aim for a stiffer texture. A latte takes mostly steamed milk under a thin, glossy layer of microfoam about a centimeter deep, so aerate briefly and let the vortex run longer. A flat white uses almost no foam at all, just silky textured milk. For iced coffee, froth cold milk or a cold milk-and-cream blend straight from the refrigerator; cold foam holds its structure without any heat at all.
Choosing a Milk Frother That Fits Your Routine
Three specifications matter more than the rest: whether the unit heats as well as whips, how much milk it handles per cycle, and how easily the interior cleans up. Battery-powered models add freedom of placement, since no outlet is required next to the coffee corner, which is one reason dedicated cordless appliances keep growing across small kitchen electrics. BLMEAS has manufactured small kitchen appliances since 2009, and its milk frother line covers both corded models for a fixed coffee station and rechargeable cordless designs for flexible use. If you are building out an outlet-free kitchen, the cordless kitchen appliance collection extends the same battery platform across blenders, choppers, and mixers.
Whichever tool you pick, the fundamentals stay identical: cold milk, 140°F, brief aeration, a steady vortex, and a pour without delay. Master those, and even the simplest whisk turns out coffee-shop foam.
PREV: What Type of Milk Should I Use for a Milk Frother? Whole, Skim and Oat Compared
NEXT:It is the last article
NEXT:It is the last article
 SEE more
 SEE more
 SEE more
 SEE more
 SEE more
 SEE more
 SEE more
 SEE more
 SEE more
 SEE more
 SEE more
 SEE more
 Leave a message
Copyright © Ningbo Longde Life Electric Appliance Co., Ltd.  Wholesale Portable Kitchen Appliance For Outdoor Use Manufacturers